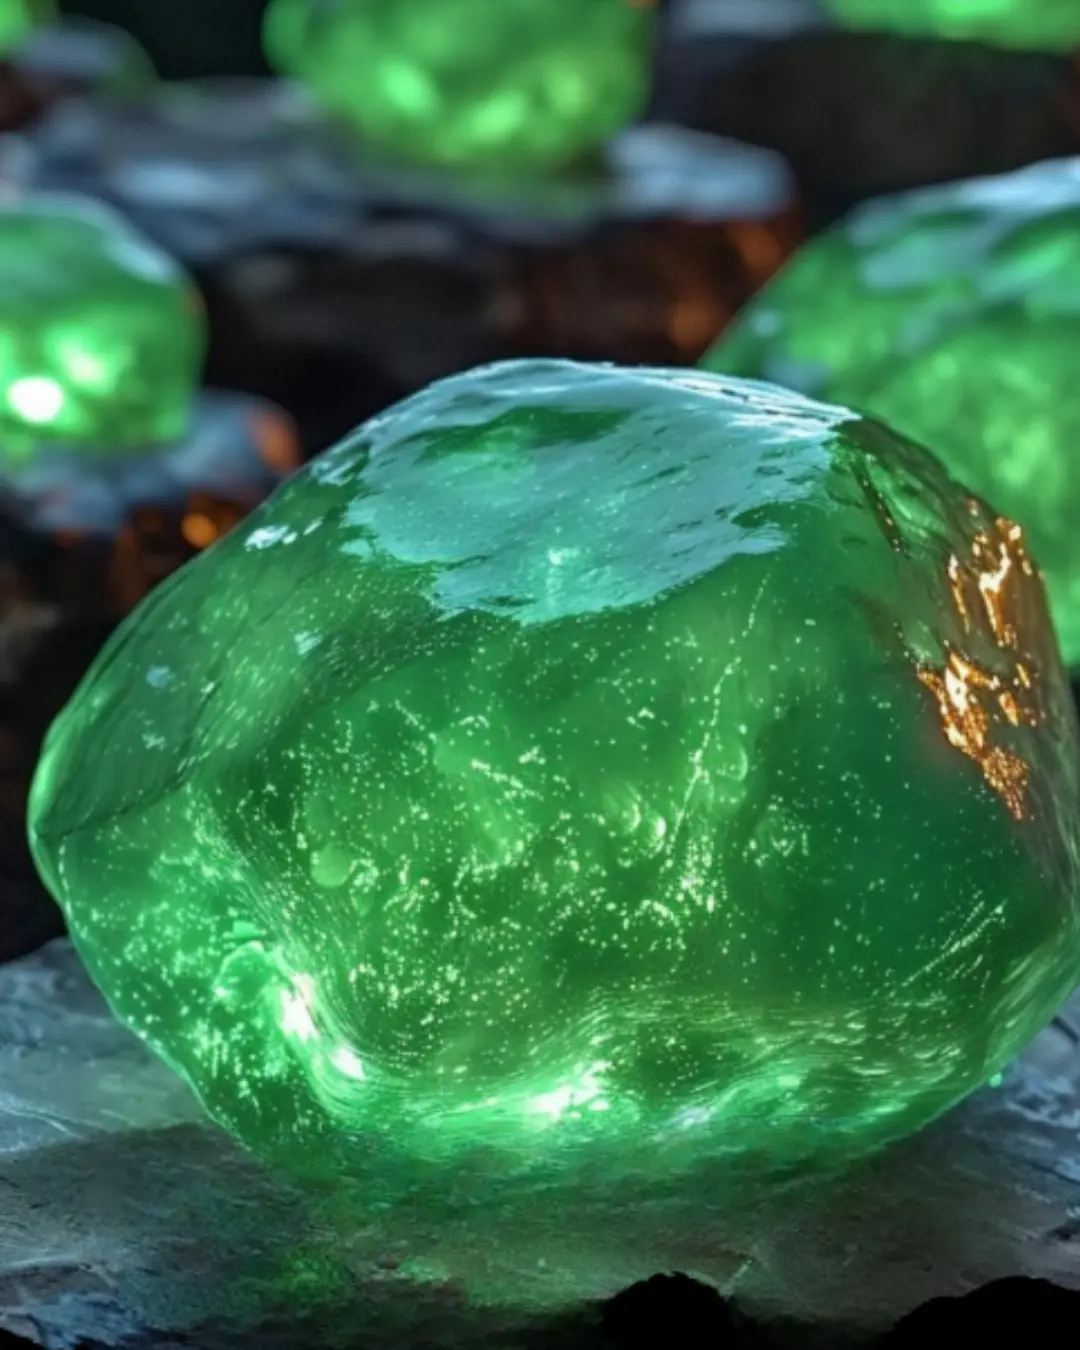
Creating your own glow in the dark moon rocks is a fun, hands-on activity that’s perfect for kids, classrooms, parties, and late-night sensory play. These magical rocks not only glow in the dark but also bounce, stretch, and feel irresistibly squishy! Whether you’re throwing a space-themed birthday bash or looking for an engaging science project, these DIY moon rocks will light up everyone’s imagination.
✨ Why You’ll Love These Glow in the Dark Moon Rocks
- Fun and educational – A creative way to explore science through sensory play.
- Safe and non-toxic – Made from kid-friendly materials.
- Customizable – Choose your own colors, shapes, and glitter effects.
- Perfect party favor – A hit for birthdays, school STEM nights, or Halloween events.
- Reusable – Store them and bring out the glow over and over again!
Let’s dive into making your very own batch of glowing lunar magic.
🛠️ Preparation Phase & Tools to Use
Before you begin, gather all the materials and set up your workspace to keep the process clean and fun.
🔧 Essential Tools and Equipment
- Mixing bowl
- Measuring cups and spoons
- Mixing spoon or spatula
- Airtight container or plastic bag (for storage)
- Disposable gloves (optional for mess-free hands)
- Wax paper or craft mat (for surface protection)
🧰 Importance of Each Tool
- Mixing bowl – Helps combine ingredients evenly and mess-free.
- Measuring tools – Ensures accuracy for consistent results.
- Spoon or spatula – Ideal for smooth mixing and stirring.
- Gloves – Optional, but helpful if you’re using food coloring.
- Wax paper or mat – Makes cleanup faster and protects your surfaces.
🧠 Preparation Tips
- Cover your workspace with wax paper or a reusable craft mat.
- Use warm water to help the glue and ingredients blend smoothly.
- Work in a well-lit area so your moon rocks can “charge” before glowing.
- Choose glow-in-the-dark paint that charges quickly and emits strong light.
- Don’t rush the kneading — it’s key to achieving the right bouncy texture.
🧂 Ingredients List for Glow in the Dark Moon Rocks
Organize your materials before starting:
- 1/2 cup white school glue
- 1/4 cup warm water
- 1 tablespoon cornstarch
- 1/2 teaspoon baking soda
- 1 tablespoon glow-in-the-dark paint or glow pigment
- 1/4 cup liquid starch
- Optional: Black or gray food coloring for an extra galactic look
- Optional: Iridescent or silver glitter for starry sparkle ✨
💡 Pro Tip: Use high-quality glow pigment or paint to maximize brightness and glow time.
🧪 Step-by-Step Instructions
Follow these easy steps to make your DIY glow in the dark moon rocks:
1. Mix the Base
In a large bowl, combine 1/2 cup of white school glue and 1/4 cup of warm water. Stir until the mixture is smooth and fully blended.
2. Add Glow and Color
Mix in 1/2 teaspoon of baking soda, 1 tablespoon of glow-in-the-dark paint or pigment, and a few drops of food coloring (optional). Stir well until the color and glow are evenly distributed.
3. Thicken the Texture
Slowly sprinkle in 1 tablespoon of cornstarch, stirring constantly. This helps create a thicker, more dough-like consistency.
4. Activate with Liquid Starch
Gradually pour in 1/4 cup of liquid starch, stirring as you go. You’ll notice the mixture becoming stretchier and forming into a dough.
5. Knead by Hand
Once the mixture begins to pull away from the sides of the bowl, use your hands to knead it. Continue kneading until it becomes soft, moldable, and bouncy like playdough.
6. Shape into Moon Rocks
Form small round or rugged “rock” shapes with your hands. Get creative—try craters, pebbles, or irregular shapes for that real lunar look.
7. Let Them Charge
Place your finished rocks under bright light (sunlight or a lamp) for 5–10 minutes. Then switch off the lights and watch them glow!
🌈 Tips & Variations
- Add glitter for sparkly star effects 🌟
- Mix glow colors to create multi-hued rocks
- Make larger rocks for display pieces
- Use silicone molds for cool shapes like stars or moons
- Store in sealed bags to keep squishy longer
- Add scented oils (lavender, lemon) for extra sensory fun
Using Glow in the Dark Moon Rocks – Ideas, Fixes & Fun Pairings
Now that you’ve made your glowing, squishy moon rocks, it’s time to put them to use! Whether you’re hosting a party, crafting for fun, or incorporating them into educational settings, glow in the dark moon rocks offer endless entertainment and learning possibilities.
🚀 How to Use Glow in the Dark Moon Rocks
Here are fun and creative ways to use your glow in the dark moon rocks:
- 🌙 Space-Themed Parties
Set the scene with glowing rocks on the table, as decor, or even as part of a party game. - 🧪 Sensory Bins & STEM Learning
Add them to bins with moon sand, marbles, or foil “meteorites” for tactile and visual play. - 👩🚀 Classroom Science Projects
Demonstrate phosphorescence and basic chemistry in a fun, interactive way. - 🌑 Nighttime Fun for Kids
Great for winding down before bedtime with low-light, calming play. - 🎁 Party Favors & DIY Gifts
Package them in small jars or pouches for an out-of-this-world gift. - 📸 Photo Booth Props
Place them under blacklight for intergalactic photo shoots. - 🧩 DIY Games
Use them in scavenger hunts or moon-themed board games. - 🛋️ Room Decor
Scatter them across dressers or window ledges for nighttime glow and cozy vibes.
⚠️ Common Mistakes to Avoid
Making glow in the dark moon rocks is easy, but a few missteps can affect your results. Here’s what to look out for:
1. Using Too Much Liquid Starch
- Problem: The dough becomes slimy and hard to handle.
- Fix: Add more glue or cornstarch and knead longer.
2. Skipping the Kneading Step
- Problem: The texture stays sticky and uneven.
- Fix: Knead with hands for at least 3–5 minutes until fully combined.
3. Not Charging Them Properly
- Problem: Rocks don’t glow well in the dark.
- Fix: Charge under bright white light or sunlight for at least 10 minutes.
4. Inadequate Mixing
- Problem: Uneven texture or clumps.
- Fix: Mix thoroughly at every stage, especially when adding starch and pigment.
5. Using Old or Expired Glow Pigment
- Problem: No glow effect at all.
- Fix: Always check the shelf life and use high-quality glow-in-the-dark pigment or paint.
6. Wrong Glue Type
- Problem: Dough won’t form properly.
- Fix: Only use white school glue, not gel or glitter glue.
🎯 How to Perfect Your Glow in the Dark Moon Rocks
Achieve the best possible results with these expert tips:
- Use fresh materials – Old starch or glue may cause bonding issues.
- Try mixing glow colors – Combine green and blue pigments for cosmic tones.
- Charge regularly – Glow fades with time, so re-charge often under light.
- Store properly – Use an airtight container to maintain moisture and squish.
- Test glow before storing – Ensure full charge before turning off the lights.
- Use glitter for dimension – It adds depth to the glow and a magical touch.
🥗 Side Activity Recommendations
Make your space-themed adventure even more exciting with these fun pairings. These aren’t food dishes but complementary DIY or party activities that match the cosmic theme!
1. Galaxy Slime DIY
- A stretchy, glittery slime that looks like deep space.
- Great sensory add-on with similar ingredients.
2. DIY Star Projectors
- Use paper cups and LEDs to cast stars on the ceiling.
- Pair them with glowing moon rocks for full immersion.
3. Alien-Themed Coloring Station
- Set up space-themed coloring pages with glow markers and crayons.
4. Rocket Craft Corner
- Create mini paper rockets and launch pads using cardboard tubes and foil.
5. Glow Stick Planet Hunt
- Hide glow sticks and glowing moon rocks around the room for a scavenger hunt.
6. Meteor Crater Play Table
- Fill a bin with moon sand and let kids drop moon rocks to simulate craters.
7. Astronaut Dress-Up Station
- Add costumes, helmets, and props for role-play and storytelling.
8. Cosmic Story Time
- Read books like There’s No Place Like Space or Moon! Earth’s Best Friend by a darkened room filled with glow rocks.
💡 Pro Tip: Combine several of these activities into a “Space Explorer Night” for maximum engagement and fun.
🧊 How to Store Your Glow in the Dark Moon Rocks
Proper storage keeps your moon rocks soft, squishy, and glowing longer.
✅ Best Storage Practices
- Use airtight containers
Prevents air from drying out the dough and preserves bounce. - Store in plastic zip bags
Great for travel or party favor bags. - Keep in a cool, dark place
Heat can affect the texture and glow intensity. - Avoid direct sunlight
While light charges the glow pigment, excessive sun can degrade the dough over time.
💡 Pro Tip: If your moon rocks start drying out, add a few drops of warm water and knead again.
🔄 How to Rehydrate and Refresh
- Dry or hard moon rocks?
Add a few drops of glue and a touch of water, then knead. - Sticky moon rocks?
Sprinkle in a little more cornstarch or baking soda. - Low glow?
Let them charge under a bright light for 10–15 minutes. - Dull colors?
Mix in fresh glow pigment or glitter during the rehydration process.
💡 Expert Crafting Tips
These tips take your glow in the dark moon rocks to the next level:
- Use blacklight-reactive pigments for even brighter effects.
- Add essential oils like lavender or citrus for calming sensory play.
- Layer different colors when forming rocks to create marbled effects.
- Shape them with silicone molds for stars, planets, and moons.
- Let kids design their own rock “planet” and name it—a great storytelling activity.
- Turn them into a science lesson on phosphorescence, non-Newtonian fluids, and chemical reactions.
❓ Frequently Asked Questions (FAQs)
Here are the most commonly asked questions about glow in the dark moon rocks based on real Google searches:
How do glow in the dark moon rocks work?
The glow effect comes from phosphorescent paint or pigment, which absorbs light energy and releases it slowly in the dark.
Can I use food coloring instead of glow pigment?
Food coloring only adds color—it does not glow. You’ll need glow-in-the-dark paint or pigment for illumination.
Are glow in the dark moon rocks safe for kids?
Yes! This recipe uses non-toxic, washable ingredients. Still, adult supervision is recommended, especially for toddlers.
How long do glow in the dark moon rocks glow?
They can glow for 15–30 minutes after a full charge and can be recharged repeatedly.
How do I make moon rocks glow brighter?
Use a UV blacklight, or charge the rocks longer under bright white light or sunlight.
Can you freeze glow in the dark moon rocks?
No. Freezing changes the texture and ruins their bounce. Stick to room-temperature storage.
Can I make glow in the dark moon rocks without liquid starch?
Liquid starch is crucial for activating the stretchy texture. If unavailable, try substituting with a DIY borax solution or contact lens solution with baking soda.
Are glow in the dark moon rocks reusable?
Yes! With proper storage, they can last for weeks or even months. Rehydrate if they dry out.
Can you add glitter or scents?
Absolutely! Iridescent glitter and essential oils enhance sensory experience without affecting the glow.
🏁 Conclusion: A DIY That’s Out of This World
Glow in the dark moon rocks are more than just a craft—they’re a gateway to imagination, science, creativity, and family fun. Whether you’re crafting with your kids, setting the scene for a galactic birthday party, or just exploring the universe from your living room, these glowing creations deliver light, joy, and endless play.
With just a few household ingredients and a touch of cosmic creativity, you’ll have glowing rocks that light up the night and the faces of everyone who sees them.


Leave a Comment