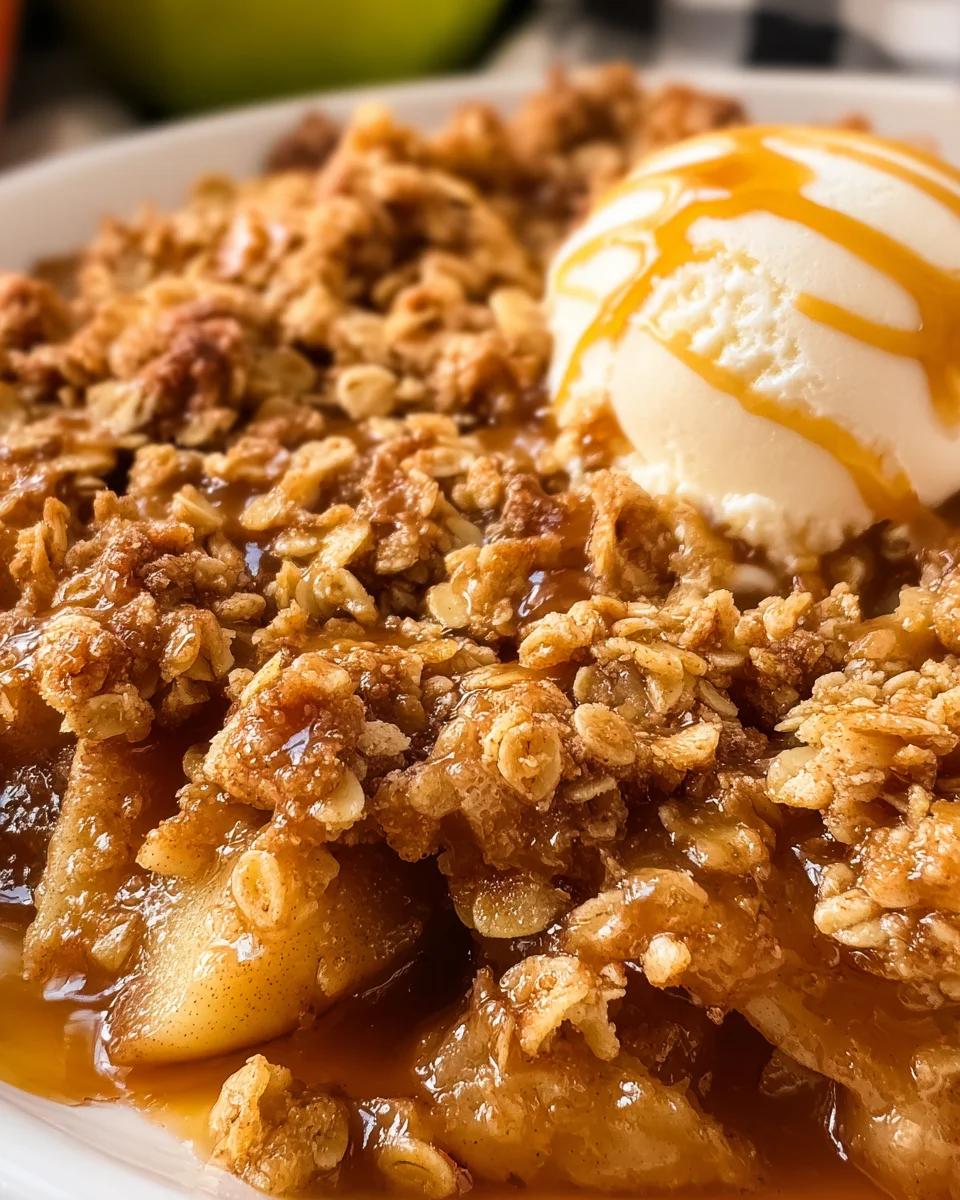
Apple crisp is a beloved dessert that combines the sweetness of spiced apples with a crunchy, buttery topping. This delightful treat is perfect for cozy gatherings, family dinners, or simply satisfying your sweet tooth. Its warm, comforting flavors make it a standout choice for any occasion, whether it’s a holiday celebration or a casual weeknight dinner.
Why You’ll Love This Recipe
- Easy to Make: With just a few simple steps, you can whip up this delicious apple crisp in no time.
- Delicious Flavor: The combination of tart Granny Smith apples and fragrant spices creates an irresistible flavor profile.
- Versatile Dessert: Serve it warm with vanilla ice cream or enjoy it on its own; it’s perfect for any dessert lover.
- Perfect for Sharing: This recipe yields eight servings, making it great for gatherings with family and friends.
- Seasonal Appeal: Ideal for autumn but delightful year-round, this apple crisp can be enjoyed in any season.
Tools and Preparation
Before you start making your apple crisp, gather the necessary tools to ensure a smooth cooking process.
Essential Tools and Equipment
- 9×13 baking dish
- Large mixing bowls
- Measuring cups and spoons
- Mixing spoon or spatula
- Oven mitts
Importance of Each Tool
- 9×13 baking dish: This size is perfect for holding all the delicious layers of apple filling and crisp topping.
- Large mixing bowls: Using large bowls allows for easy mixing without spills, especially when combining ingredients.
- Measuring cups and spoons: Accurate measurements are crucial in baking to achieve the perfect flavor and texture.
- Mixing spoon or spatula: These tools help combine ingredients thoroughly, ensuring even distribution of flavors.
Ingredients
For the Apple Filling
- 10 cups Granny Smith apples (peeled, cored and sliced into ⅛ inch thick slices then cut the slices in half)
- ½ cup light brown sugar (tightly packed)
- ⅓ cup all-purpose flour
- ¼ cup granulated sugar
- 2 teaspoons ground cinnamon
- ½ teaspoon ground nutmeg
- 1 teaspoon vanilla extract
For the Crisp Topping
- 1 ⅓ cups quick cooking oats
- 1 ⅓ cups all-purpose flour
- 1 cup light brown sugar (tightly packed)
- 1 ½ teaspoons ground cinnamon
- ½ teaspoon salt
- ½ teaspoon baking powder
- ¾ cup unsalted butter (melted)
How to Make Apple Crisp
Step 1: Preheat the Oven
Preheat your oven to 350°F. Lightly spray a 9×13 baking dish with non-stick baker’s spray and set it aside.
Step 2: Prepare the Apple Filling
In a very large mixing bowl:
1. Add the apple slices.
2. Sprinkle in the light brown sugar, all-purpose flour, granulated sugar, ground cinnamon, ground nutmeg, and vanilla extract.
3. Gently fold all ingredients together until the apple slices are evenly coated.
Step 3: Layer the Apples
Transfer the apple filling mixture into your prepared baking dish. Spread it out evenly without packing it too tightly.
Step 4: Make the Crisp Topping
In another large mixing bowl:
1. Combine quick cooking oats, all-purpose flour, light brown sugar, ground cinnamon, salt, and baking powder.
2. Stir well to mix everything together.
Step 5: Incorporate Butter into Topping
Add melted butter to the dry mixture:
1. Stir until everything is well combined with no dry pockets remaining.
Step 6: Assemble the Crisp
Top the apple filling with your prepared crisp topping:
1. Evenly distribute it over the apples to ensure complete coverage.
Step 7: Bake to Perfection
Bake uncovered for 40–45 minutes:
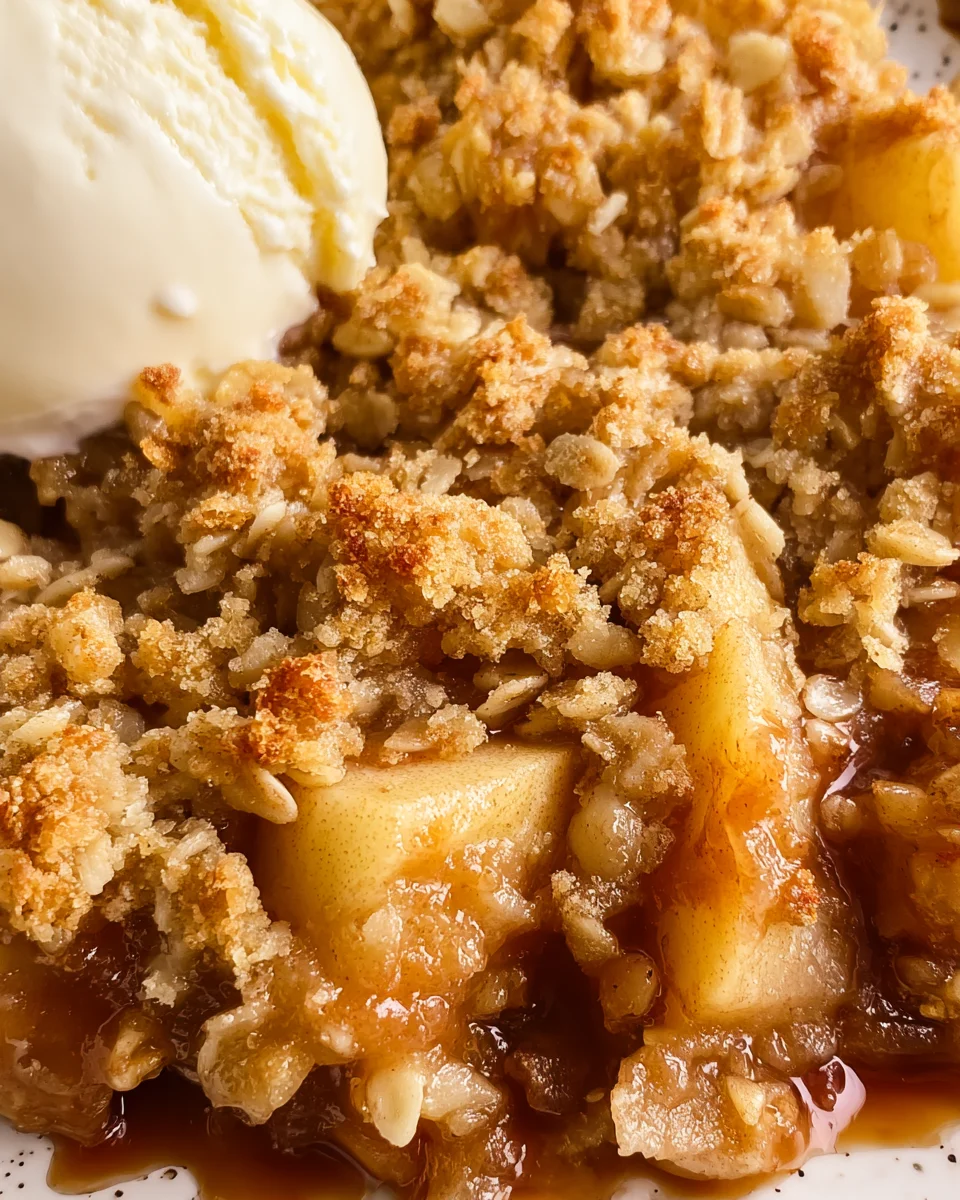
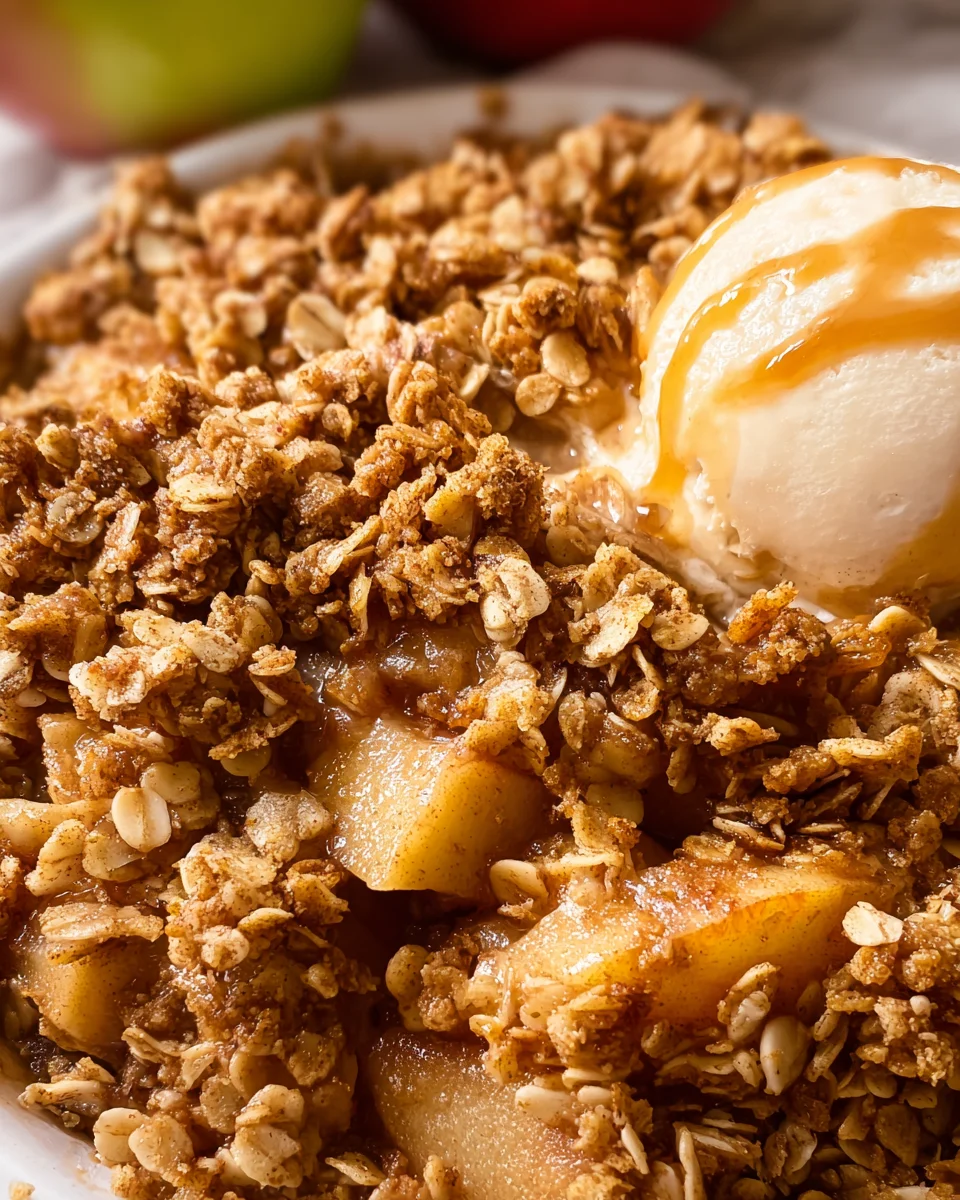
1. Look for a golden brown topping and bubbly juices from the apples.
Step 8: Cool Before Serving
Allow your apple crisp to cool on the counter for about 5 minutes before serving:
1. This helps thicken the juices and sets up the filling nicely.
Now you have a delicious homemade apple crisp ready to be enjoyed!
How to Serve Apple Crisp
Apple crisp is a delightful dessert that can be enjoyed in various ways. Whether you’re serving it for a family gathering or a cozy night in, these suggestions will elevate your apple crisp experience.
A La Mode
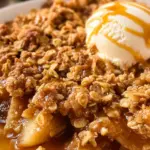
- Ice Cream: Serve warm apple crisp with a scoop of vanilla ice cream for a classic pairing.
- Whipped Cream: Top with freshly whipped cream for added richness and creaminess.
With Fresh Fruit
- Sliced Bananas: Add fresh banana slices on top for sweetness and texture.
- Berries: Fresh strawberries or blueberries can provide a tart contrast to the sweet apples.
Drizzled Toppings
- Caramel Sauce: A drizzle of warm caramel sauce enhances the flavors and adds a luxurious touch.
- Maple Syrup: Pouring some maple syrup over the warm apple crisp brings out its natural sweetness.
Warm Drinks
- Hot Cider: Pairing apple crisp with hot apple cider creates an autumnal delight.
- Coffee: A cup of coffee complements the dessert perfectly, balancing the sweetness.
How to Perfect Apple Crisp
Creating the perfect apple crisp involves attention to detail. Here are some tips to ensure your dessert turns out delicious every time.
- Choose the Right Apples: Granny Smith apples are ideal due to their tartness, which balances the sweetness of the topping.
- Don’t Overmix: When preparing your apple filling, gently fold ingredients together to keep the apples intact.
- Use Cold Butter: For a crisper topping, ensure your butter is cold when mixing it with dry ingredients.
- Layer Evenly: Distribute both the apple filling and crisp topping evenly in your baking dish for uniform cooking.
- Let It Cool: Allowing your apple crisp to cool slightly before serving helps set the juices, making it easier to serve.
- Experiment with Spices: Feel free to adjust spices like cinnamon and nutmeg according to your taste preferences.
Best Side Dishes for Apple Crisp
Apple crisp pairs well with several side dishes that enhance its flavors. Consider these options for a complete meal.
- Vanilla Ice Cream: The creamy texture balances the warm apple filling perfectly.
- Caramel Sauce: Adds extra sweetness and richness when drizzled on top of each serving.
- Whipped Cream: Light and airy, whipped cream complements the dense crisp beautifully.
- Cheese Platter: A selection of cheeses offers a savory contrast to the sweet dessert.
- Coffee Cake: This makes for an excellent brunch companion alongside apple crisp.
- Fruit Salad: A refreshing fruit salad can lighten up your meal and provide more textures.
Common Mistakes to Avoid
Making apple crisp is simple, but there are common pitfalls that can affect the outcome. Here are some mistakes to steer clear of:
- Using the wrong apples: Not all apples are suited for baking. Stick to tart varieties like Granny Smith for the best flavor and texture.
- Overmixing the topping: When combining your dry ingredients with butter, mix just until combined. Overmixing can lead to a tough topping instead of a light, crisp one.
- Packing the apples too tightly: It’s important to spread the apples evenly in the dish without packing them down. This ensures they cook evenly and release their juices.
- Not letting it cool before serving: Allowing your apple crisp to rest for about five minutes after baking lets the juices thicken, making it easier to serve.
- Skipping spices: Don’t underestimate the power of cinnamon and nutmeg. These spices enhance the flavor of your apple filling, so be sure not to skip them.
Storage & Reheating Instructions
Refrigerator Storage
- Store leftover apple crisp in an airtight container in the refrigerator for up to 3 days.
- Make sure to let it cool completely before sealing it in a container.
Freezing Apple Crisp
- You can freeze apple crisp for up to 3 months in an airtight freezer-safe container.
- For best results, freeze before baking. Just thaw it overnight in the fridge before baking.
Reheating Apple Crisp
- Oven: Preheat your oven to 350°F and bake for about 15-20 minutes until warmed through.
- Microwave: Heat individual servings on high for 30-60 seconds or until hot.
- Stovetop: Warm on low heat, stirring occasionally, until heated throughout.
Frequently Asked Questions
Here are some common questions about making apple crisp:
What kind of apples are best for Apple Crisp?
Granny Smith apples are ideal due to their tartness, which balances well with the sweetness of sugar.
Can I make Apple Crisp ahead of time?
Yes! You can prepare it a day ahead and store it in the refrigerator. Bake it just before serving for a fresh taste.
How do I prevent my Apple Crisp from getting soggy?
Ensure you don’t pack the apple slices too tightly and use a mix of sweet and tart apples for balance.
Can I add nuts or other toppings to my Apple Crisp?
Absolutely! Chopped nuts like pecans or walnuts can add a delightful crunch. Feel free to customize!
Is Apple Crisp gluten-free?
You can make a gluten-free version by substituting all-purpose flour with gluten-free flour blends.
Final Thoughts
Apple crisp is a delightful dessert that brings warmth and comfort with every bite. Its versatility allows you to customize flavors and toppings based on your taste preferences. Whether you enjoy it plain or topped with ice cream, this recipe is sure to impress your family and friends. Give it a try today!
Apple Crisp
- Total Time: 1 hour
- Yield: Serves 8
Description
Apple Crisp is the quintessential cozy dessert that marries the sweet, spiced essence of tender baked apples with a crunchy, buttery topping. This delightful treat is not only a crowd-pleaser for family gatherings and holiday celebrations but also a comforting indulgence for any weeknight dinner. With its warm, inviting flavors and easy preparation, this apple crisp recipe is perfect for satisfying your sweet tooth or impressing guests.
Ingredients
- 10 cups Granny Smith apples, peeled and sliced
- ½ cup light brown sugar
- ⅓ cup all-purpose flour
- ¼ cup granulated sugar
- 2 teaspoons ground cinnamon
- 1 teaspoon vanilla extract
- 1 ⅓ cups quick cooking oats
- ¾ cup unsalted butter, melted
Instructions
- Preheat your oven to 350°F and lightly grease a 9×13 baking dish.
- In a large bowl, combine sliced apples with brown sugar, flour, granulated sugar, cinnamon, and vanilla. Toss until evenly coated.
- Spread the apple mixture in the prepared baking dish.
- In another bowl, mix oats, flour, brown sugar, cinnamon, and melted butter until combined.
- Evenly distribute the topping over the apple layer.
- Bake for 40–45 minutes until golden brown and bubbly.
- Allow to cool for 5 minutes before serving.
- Prep Time: 15 minutes
- Cook Time: 45 minutes
- Category: Dessert
- Method: Baking
- Cuisine: American
Nutrition
- Serving Size: 1/8 of the recipe (approximately 175g)
- Calories: 320
- Sugar: 20g
- Sodium: 150mg
- Fat: 15g
- Saturated Fat: 9g
- Unsaturated Fat: 4g
- Trans Fat: 0g
- Carbohydrates: 47g
- Fiber: 4g
- Protein: 3g
- Cholesterol: 30mg


Leave a Comment